
If you’ve wanted to experience the springy Zonai Device in The Legend of Zelda Tears of the Kingdom, this is the shrine for you. You’re bound to encounter these in the wild, so this is the perfect place to get some practice in with them too. Plus, this one doesn’t leave too much margin for error or unfortunate mishaps. But enough preamble: Here’s our full walkthrough for the Morok Shrine in Zelda Tears of the Kingdom.
Zelda Tears of the Kingdom Morok Shrine Walkthrough
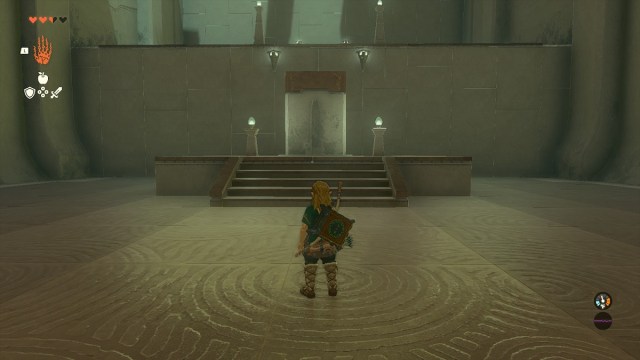
You’ll find this shrine to the northeast of Riverside Stable next to the Tajikats Shrine. It will be up on a floating island connected by a root you’ll have to climb. If you have the base stamina bar, you’ll never make it to the top without food to regain stamina. Also, this shrine is impossible to complete without the Paraglider.
Part One
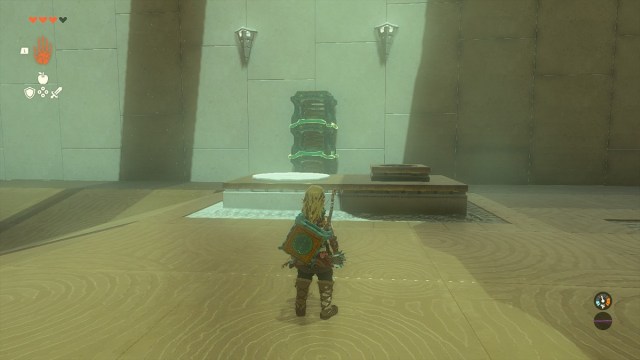
The shrine opens up to this area with a platform moving kind of like a piston by a set pattern. You just need to wait on the piston until it launches you, and then glide forward to the next level.
On the next platform is a Spring Device that will push you straight up into the air when you hit it. You only need to stand on it and attack it with something. Once it launches you straight up, glide forward to the next part.
Part Two
Use the Ultrahand to place the Spring on the first angle so that you get shot over the chasm when you hit it. This time, there’s no need for the glider, as you will land softly without any damage.
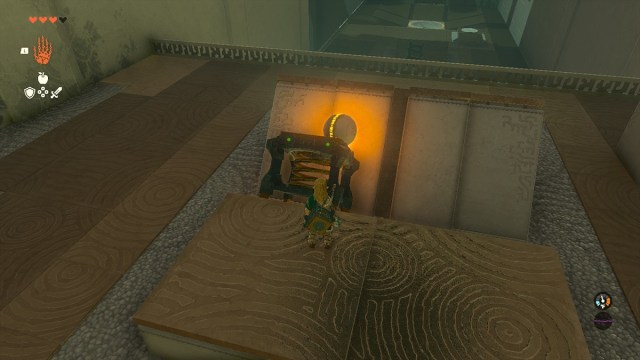
In this area, place the Spring at an angle once more, and take the ball and place it on the spring. It is likely to roll off, so hit the Spring as soon as the ball is centered. Make sure to place it and not stick it to the Spring. If you’re lucky, you’ll hit a hole-in-one, and the gate will open. Hit the spring again to reset it and then stand on it yourself to get back across. If you weren’t lucky, you can drop the ball into the hole yourself.
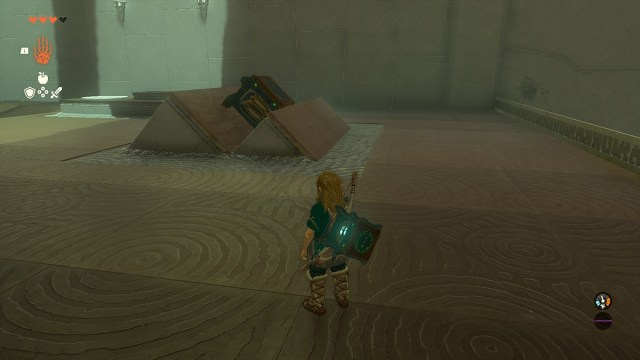
Part Three
Take the new double Spring and place it by where you picked up the Spring that launched you to the ball. Place it against the wall, between all of the lanterns, without splitting the two Springs apart. Add the spring from this area to make this a stack of three Springs. That third spring will give you enough extra bounce to reach the end of the Shrine.
With that, our Morok Shrine walkthrough for Zelda Tears of the Kingdom is finished, and we hope this got you through it a little faster. For more Shrine walkthroughs and helpful tips, check our our related links below.